Committing to our existing image and pushing it to DockerHub

Introduction
Peace to you all , Here is the Link to my previous blogs, Where I have posted about Docker, Containers and DevOps.
This is Day 5 of documenting my DevOps journey .
This blog focuses on Committing to our existing image and and pushing it to DockerHub.
Getting Started
In the previous blog , we successfully ran an Nginx web server on docker and hosted our own static content on Nginx.
The changes which he have done is locally in our machine, but in order to update the changes in the image and share it in DockerHub or to have a complete image with all the changes we need , we can commit the changes in the image and that creates a new image. We can then push that image to DockerHub.
Committing to the image
docker commit [containerId] [newImageName]
Container Id can be used with first few letters ,
For Example ,
f9bd71720c88 is my container Id , but instead of typing fully , we can just use first few characters and since they will be unique , that would be sufficient to associate that specific container .
So my command would be
docker commit f9bd nginx-new
This will create a new image and the Id of the new image can be found in the response of this command.
We can check the images using ,
docker images

!!! We have successfully created our own image with Nginx as base image .
Running your own image
Running the new image is same as normally running a docker image pulled from DockerHub.
docker run -p 80:80 -d nginx-new
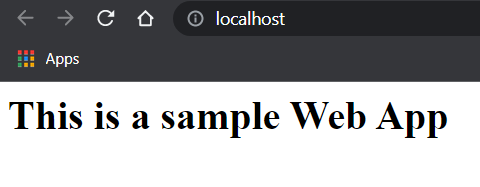
Open localhost:80 and check once the container starts running .
 !!! We successfully created our own image with a base image .
Pushing our image to DockerHub
Before that , We must sign up in DockerHub and create a new repository in DockerHub.
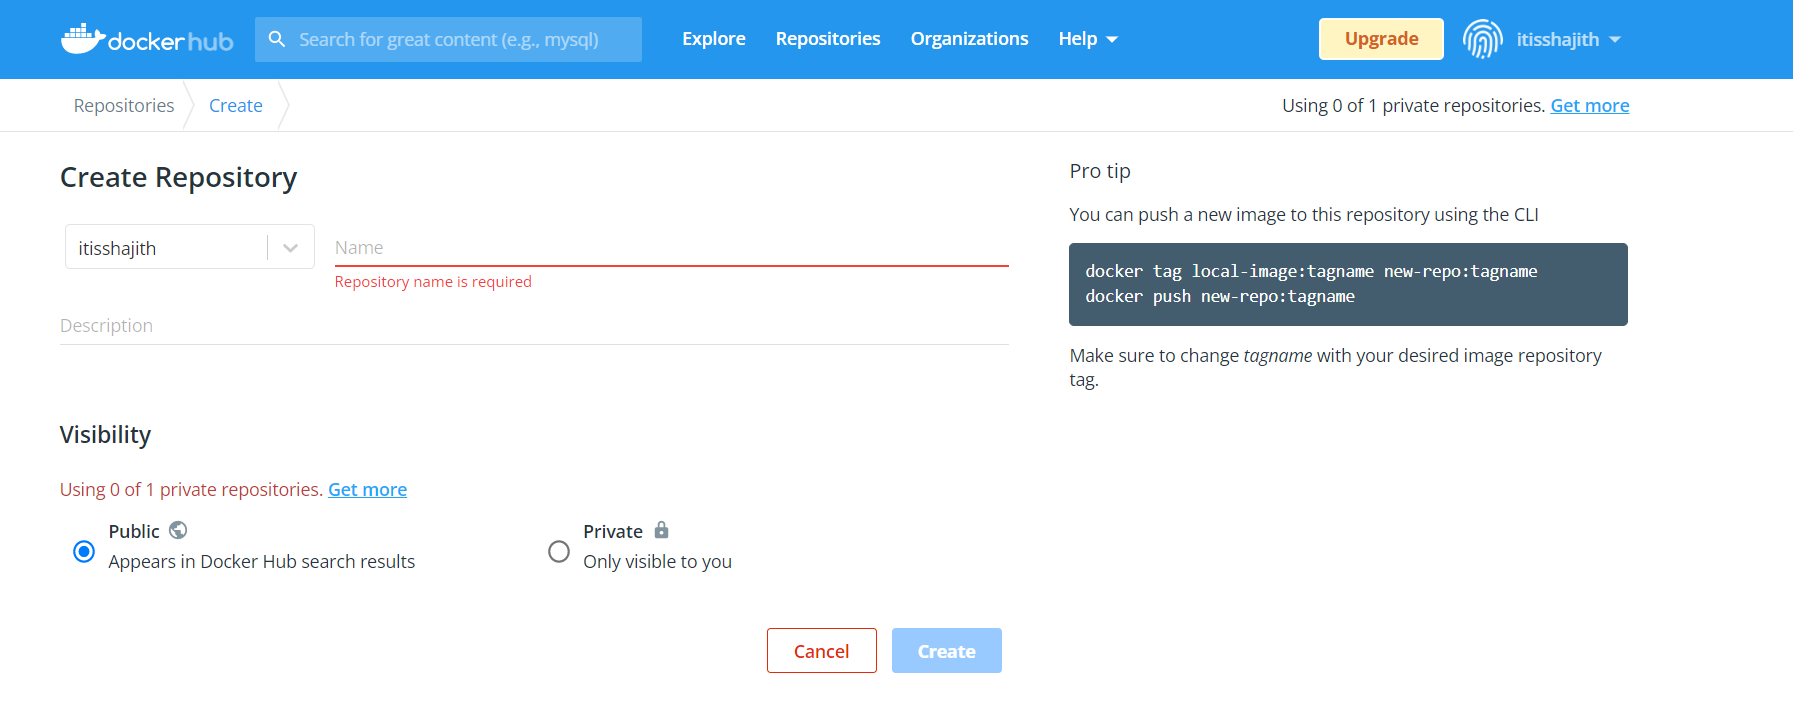
We can also find the command to push our image to docker hub in the right side of the page.
Public repositories can be accessed by anyone whereas private repositories can be accessed only by our self.
Here , I have created a Public repository .
First , we have to login to docker in command prompt
docker login
This will prompt for username and then password.
Second , we have to tag our local image to a tag.
docker tag local-image:tagname new-repo:tagname
In my case ,
docker tag nginx-new:latest itishajith/nginx-repo:latest
Run docker images ,

We can see the new name in the repository with same Image Id . This ensures we have created successfully. Now finally, we can push it to the DockerHub using the push command.
docker push itisshajith/nginx-repo
Accessing it in DockerHub
Now open DockerHub and your own repository.
!!!! Yeah , we have pushed our image to DockerHub ,
We have just shared it to the community and we can also share it with whomever we want.
We can also pull it from anywhere with the below command as we normally pull any image.
docker pull itisshajith/nginx-repo
What have we done
We committed a change to the existing Nginx image and that created a new image.
We signed up in docker hub and created a new repository.
We logged in the terminal and tagged the image with respect to the name of the repository created online .
We pushed it and found it on docker hub .
We can also pull this image from anywhere and run it normally.
See you Tomorrow
Okay . So hold on, stay with me as we get to know docker more and DevOps even more.
Okay Then , Will get back Tomorrow with more!
Peace be upon you!