Introduction
Peace to you all , Here is the Link to my previous blogs, Where I have posted about Docker, Containers and DevOps.
This is Day 8 of documenting my DevOps journey .
This blog focuses on building an image of an angular app using dockerfile.
Getting Started
In order to get started we need an angular app up and running.
Here I have created one using Angular-CLI ,
ng new ang
This will create an app named ‘ang’ .
Running the angular app
To run the angular app locally and open it on localhost:4200,
ng serve --open
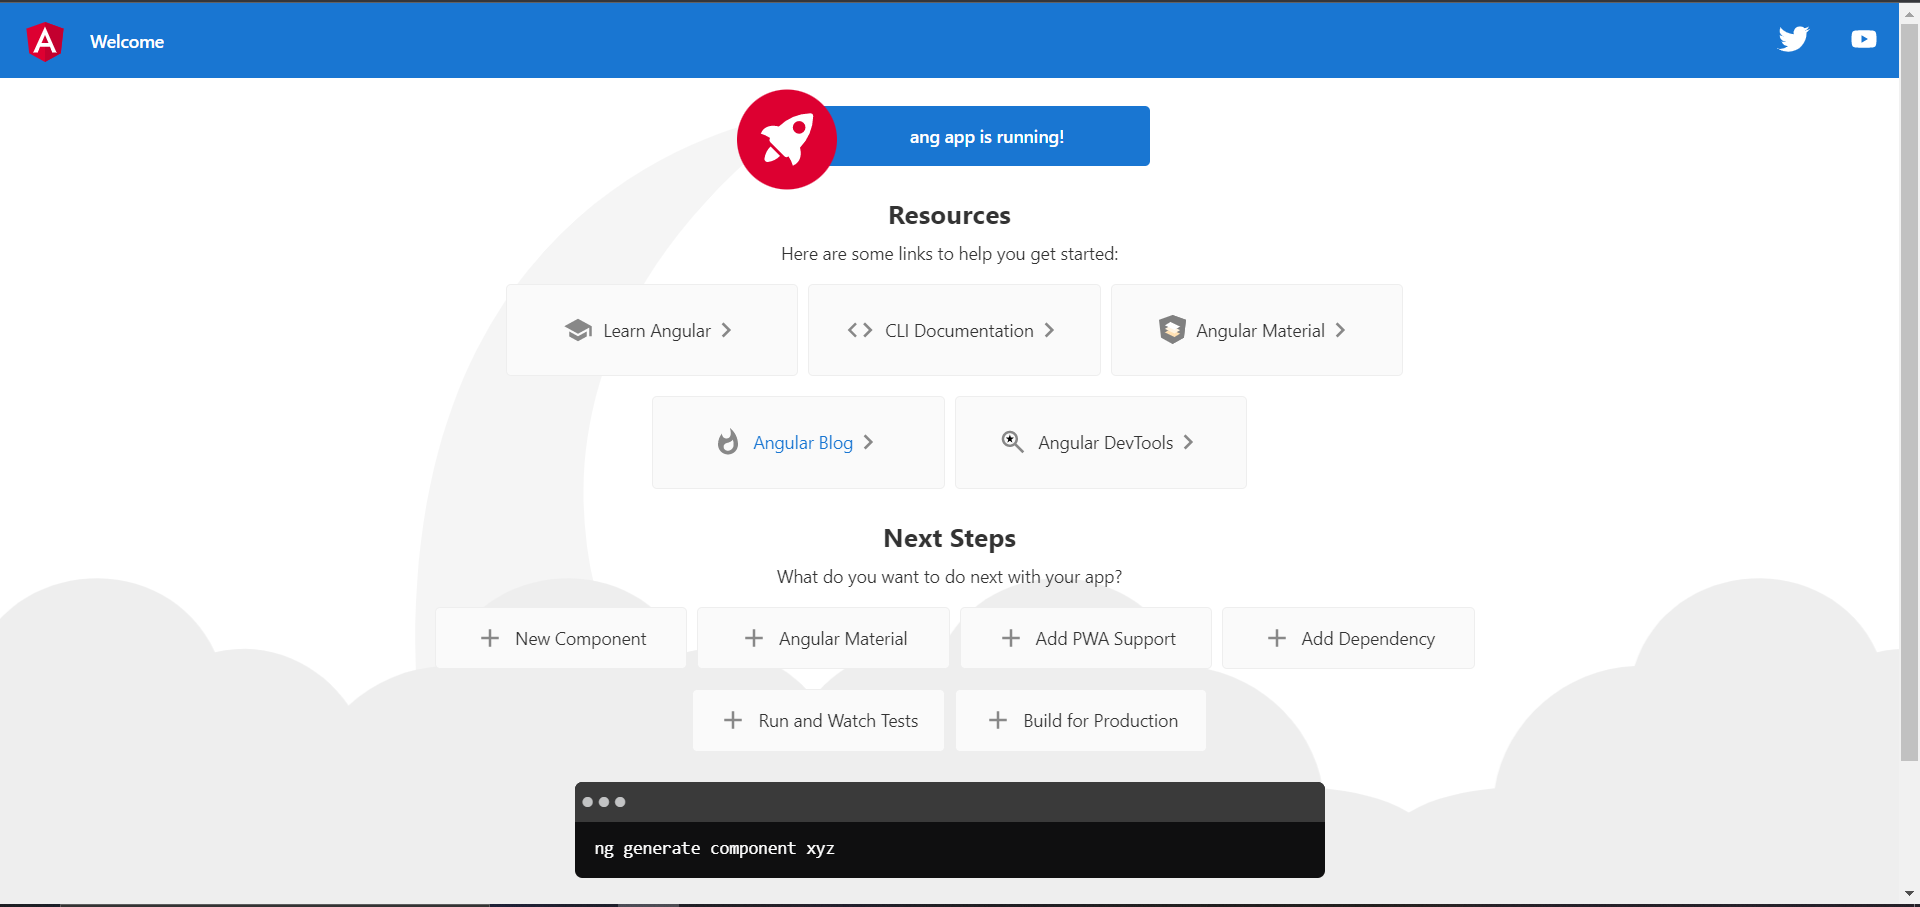
This app is autogenerated using ng new command, which just created this sample content and this can be edited in the respective component .
Writing Dockerfile
Now , inside the project folder, we need to create a Dockerfile with no extension . I am using VSCode , but we can use any text editor , including notepad.
We have two phases to work on . The first is to build and the second is to pass the build to nginx web server.
The latter is familiar to us in the previous blogs , but the former is what we are going to focus.
Phase 1 - Build phase
FROM
We need an environment to build the app .
Here I am using node for my building environment.
We can have any tags which can be found on the node - docker image page , Alpine as I have previously mentioned in one of my previous blogs , is lightweight and the performance is good as well . ‘lts’ stands for Long Term Support - this could mean the version is stable and can have patches and support for a very long time. So we are using the alpine tag of node with ‘lts’.
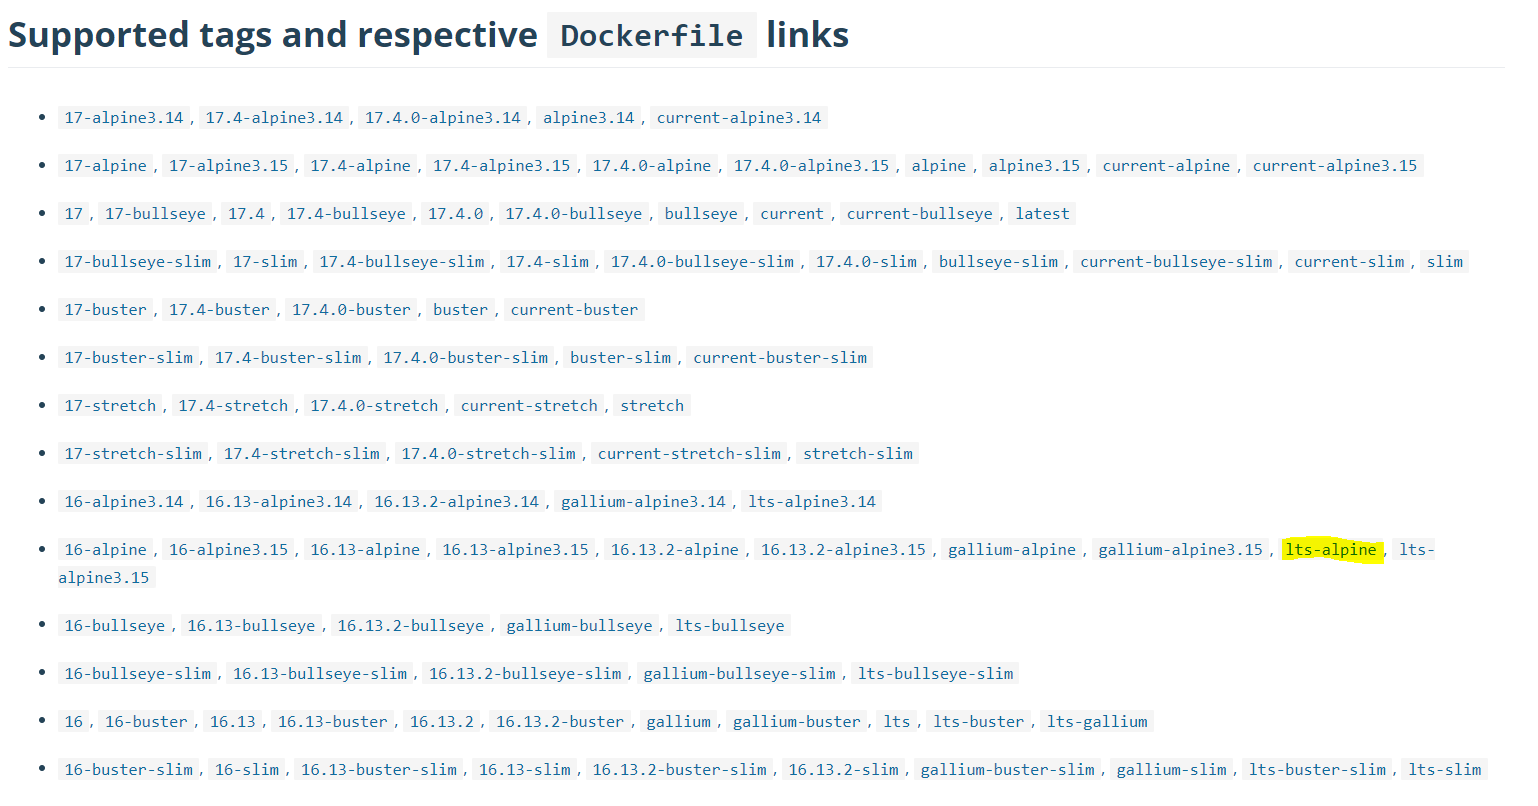
FROM node:lts-alpine AS build
This builds a node image with lts-alpine and this can be referred with the name “build” as we have used ‘AS’ instruction.
Setting working directory
We can set the working directory generally anywhere , but in Linux , any software which is going to be installed will be installed there and so we can use that. ( Not necessarily required to have the working directory to be here).
WORKDIR /usr/local/app
Copying from host to container
Now since the working directory is set up , we can copy our contents from our host and set up what we need to build.
COPY ./ /usr/local/app
Installing and building
We have our project set up in the container , as a next step , we can install the node modules there and build .
RUN npm install
RUN npm run build
This will install the node modules required and build the project . This is the phase one where we have built the project successfully.
Phase 2 - Hosting the project
This is similar to the previous blogs on how we hosted the static content to the nginx server.
FROM nginx
COPY --from=build /usr/local/app/dist/ang /usr/share/nginx/html
EXPOSE 80
The first step FROM takes nginx image ,
The second step takes build result from the node image which will be generated inside ‘dist’ folder.
We use “ - -from=build” , where build is the name of the image we have given at the first FROM instruction .
This means that it will take the respective image artifact built earlier and from that image it will take the contents of the build result - ‘dist’ and copy it to nginx server which is “/usr/share/nginx/html”.
In the third step , we have exposed a port 80 and we will be using the same port while running the image.
Build using Dockerfile
Finally , all we need to do is , simply run,
docker build -t ang/latest .
This will search for dockerfiles in the current folder ( ' . ' - represents current folder ) and name the image with a tag which we have mentioned .
We can check it using,
docker images
Once the image is successfully built , we can run a container using the docker image we just built.
docker run -d -p 80:80 ang/latest
Now , Open localhost:80 .
!!!! We have successfully hosted an angular app!!!!!
What have we done
We took a sample angular app , Took node image for building the app , set a working directory in the container , copied our host data to the container , installed node modules using npm , Built the project, took the build result and copied it to the nginx web server folder .
Built the image , by asking docker to build and asked it to find the dockerfile in the current folder.
Ran a container out of the built image.
Successfully containerized an angular image.
See you Tomorrow
Okay . So hold on, stay with me as we get to know docker more and DevOps even more.
Okay Then , Will get back Tomorrow with more!
Peace be upon you!
About the author
Full stack dev | DevOps engineer
Comments
Join the discussionNo comments yet. Be the first to comment.